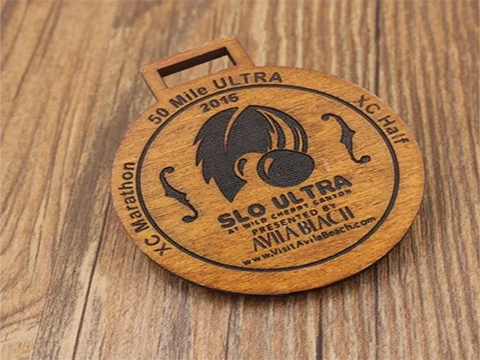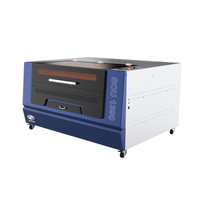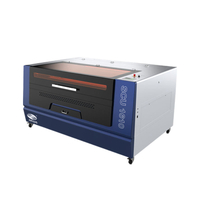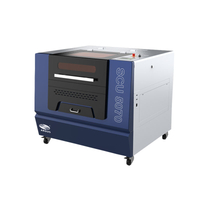
Laser cutting is an excellent method for creating intricate, customized wooden medals, offering high precision and the ability to achieve complex designs. With ARGUS Laser technology, you can easily cut and engrave wooden medals for a variety of applications such as awards, ceremonies, or gifts.
Step 1: Prepare the Design
Software Selection: Start by designing your medal using vector-based software like Adobe Illustrator, CorelDRAW, or other compatible CAD software. Your design should include the shape of the medal (circle, custom shape, etc.), any text (e.g., award name, date, or recipient), and decorative elements (e.g., logos, patterns, or engravings).
Design Considerations: Ensure the design is optimized for laser cutting. For example:
Use vector lines for cutting paths (e.g., medal shape, borders).
Use raster (bitmap) designs for engraving or detailed patterns (e.g., logos or text).
Keep in mind the thickness of the wood you’re using and avoid extremely fine lines that may not cut well.
Step 2: Choose the Wood Material
Material Selection: Choose a suitable wood material for the medal. Popular options for laser cutting include:
Plywood: Thin, layered wood that is easy to cut and engrave.
MDF (Medium Density Fiberboard): A smooth, uniform material ideal for detailed engravings.
Solid Wood: For a premium look, solid woods such as walnut, oak, or maple can be used.
Thickness: Typically, wood sheets between 2mm to 6mm thick are ideal for cutting medals, though this can vary depending on the design and size of the medal.
Step 3: Set Up the ARGUS Laser Machine
Loading Material: Place the wood sheet onto the laser cutter’s bed. Ensure it is flat and properly aligned. If using a larger sheet, make sure it fits within the working area of the laser.
Adjust Focus: Adjust the laser head’s focus to match the thickness of the material you’re working with. This ensures a clean, precise cut and engraving.
Material Settings: Set the correct parameters for the laser cutter based on the type of wood and its thickness:
Cutting Settings: Set the laser power and speed for cutting through the wood. For example, a lower speed with higher power is typically used for cutting thicker materials, while faster speeds with lower power can be used for thin woods.
Engraving Settings: Adjust the laser’s power and speed for engraving based on the depth and intricacy of the design. Lighter engravings (such as text or logos) will require lower power, while deeper engraving might require higher settings.
Step 4: Load the Design into the ARGUS Laser System
File Upload: Transfer your design file from your software to the ARGUS Laser system. This is typically done via USB, network connection, or directly from the software if it’s compatible with the laser machine.
Positioning: Use the laser cutter’s preview or alignment system to ensure that your design is properly positioned on the wood sheet. Make sure the design will be centered within the material to avoid cutting off any parts of the medal.
Test Cut: Run a test on a scrap piece of wood to ensure that the settings are optimal for both cutting and engraving. Adjust if necessary based on the test results.
Step 5: Start the Cutting and Engraving Process
Cutting the Medal Shape: Once everything is set, start the laser cutting process. The laser will follow the vector paths to cut out the medal shape from the wood. Ensure that the cutting process is smooth, with no burning or discoloration of the material.
Engraving the Design: After the outline of the medal is cut, the laser will begin the engraving process. It will etch your text, logo, or any other decorative elements onto the surface of the wood. Depending on the complexity of your design, this could take some time.
Step 6: Remove the Medal from the Laser Cutter
Cooling and Safety: After the laser cutting and engraving is complete, let the wood cool for a few minutes to avoid handling burns. The laser may leave some residual smoke or soot on the surface.
Cleaning the Medal: Once the medal is cool, carefully remove it from the machine. Use a soft cloth or brush to gently wipe off any soot or debris left from the laser cutting process. You can also clean the engraved areas to enhance the clarity of the design.
Optional: If you want to add a polished finish, you can lightly sand the edges or apply a wood finish (like lacquer or oil) to enhance the appearance and protect the wood.
Step 7: Final Touches
Adding Ribbon or Mounting: Depending on the design, you can add a ribbon to hang the medal or create a stand for it. Laser cutting can also be used to create custom mounts or holders for the medals, depending on the intended use.
Customization: If needed, you can further customize the medal with color fills, additional engravings, or decorative elements like a logo or a decorative frame.
Step 8: Quality Check
Inspect the Medal: Before finalizing, inspect the cut and engraved areas carefully to ensure everything is clean, accurate, and to your specifications. Check for smooth edges, proper engraving depth, and the alignment of text and graphics.
Test Fit: Ensure that the final medal looks and feels balanced, especially if any additional mounting or ribbon attachments are added.


